Discover the art of auto-paint correction for flawless finishes. Enhance your vehicle’s appearance by removing imperfections like swirl marks and damages. Equip yourself with essential tools like a dual-action polisher and clay bar kit. Understand the difference between abrasive and non-abrasive compounds for varying corrections. Prepare your paint surface meticulously with washing and inspection. Master techniques such as spot correction and progressive polishing for perfection. Achieve a flawless finish through careful polishing and protection. Learn about the benefits of professional versus DIY paint correction. Uncover the secrets to pristine paintwork and maintenance for a stunning ride.
Key Takeaways
- Auto paint correction enhances vehicle appearance and protects the paint.
- Common imperfections include swirl marks, damage, and oxidation.
- Essential tools include a dual-action polisher, paint thickness gauge, and clay bar kit.
- Correct paint defects using spot correction and progressive polishing techniques.
- Professional expertise ensures flawless results; DIY requires patience and attention to detail.
Importance of Auto Paint Correction
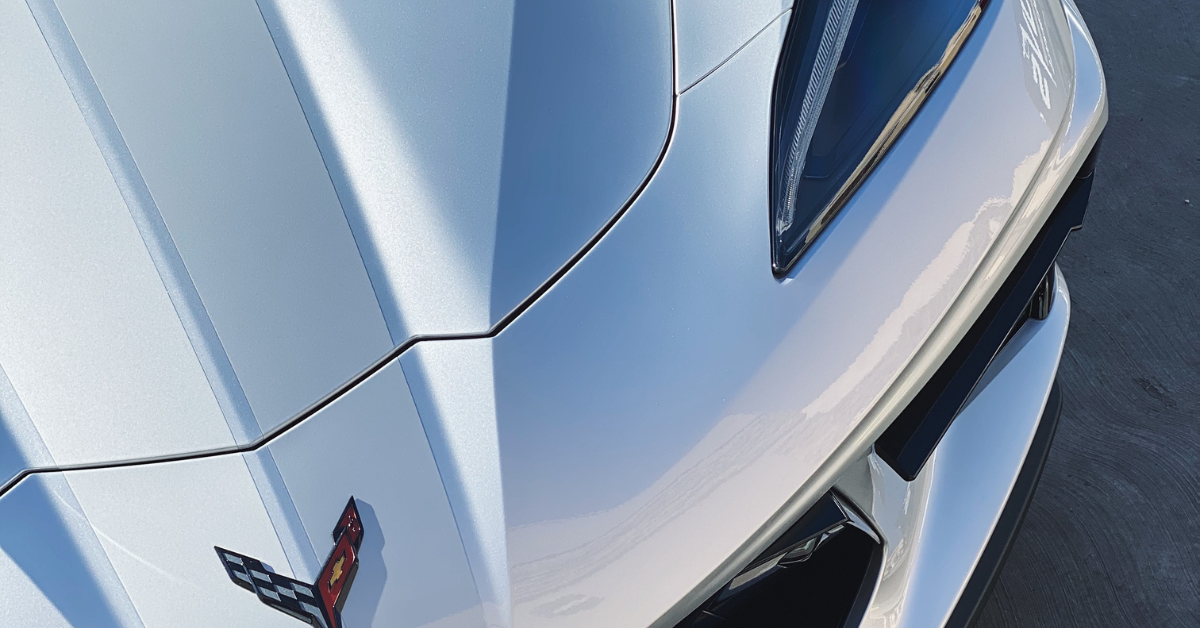
When it comes to maintaining the pristine appearance of your vehicle, paint correction for car is an essential process that can make a world of difference. Your car isn’t just a means of transportation; it’s an extension of your personality and style. Picture this: a flawless, glossy finish reflecting the sunlight as you drive down the street, turning heads and making a statement. That’s the power of auto paint correction.
Imagine every rock chips, swirl mark, or dull spot on your car’s paint disappearing, leaving behind a smooth, mirror-like surface. Auto-paint correction involves the meticulous process of removing imperfections to restore your vehicle’s finish to its original glory. It’s like giving your car a rejuvenating spa treatment, bringing back its shine and luster.
Not only does auto paint correction enhance the aesthetic appeal of your vehicle, but it also helps protect the paint from further damage. By addressing issues like oxidation, water spots, and paint transfer, you’re safeguarding your car’s exterior against the elements. Think of it as investing in the longevity and value of your vehicle.
In the world of car enthusiasts and perfectionists, auto paint correction is more than just a maintenance task—it’s a passion. It’s about achieving that showroom-quality finish that makes you proud to drive your car. So, if you want to boost your vehicle’s appearance and make heads turn wherever you go, auto paint correction is the way to go.
Common Paint Imperfections
To truly understand the value of auto paint correction, it’s important to recognize the various common paint imperfections that can hinder your vehicle’s overall appearance. Your car may suffer from swirl marks, those pesky circular patterns caused by improper washing techniques, or contact with abrasive materials. These swirls can dull the shine of your paint and make it look less appealing. Another common issue is scuffs, which can range from light surface marks to deeper ones that expose the bare metal underneath. These marks not only detract from the beauty of your car but can also lead to rust if left untreated.
Furthermore, there are paint chips to watch out for. These are often caused by rocks and debris hitting your car while driving, leaving unsightly marks that break the smooth surface of your paint. Additionally, oxidation is a prevalent problem, especially on older vehicles. This occurs when the clear coat deteriorates, leaving your paint looking faded and chalky. Lastly, water spots can be a nuisance, especially if left to dry in the sun. These spots are caused by mineral deposits in the water and can etch into your paint if not removed promptly.
Understanding these common paint imperfections is the first step toward achieving a flawless finish for your vehicle. By addressing these issues with the right tools and techniques, you can restore your car’s paint to its former glory and turn heads wherever you go.
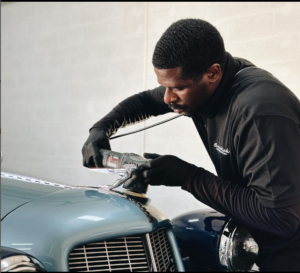
Essential Tools for Paint Correction
Equip yourself with the essential tools for paint correction to achieve professional results and restore your vehicle’s paint to perfection.
To begin, you’ll need a dual-action polisher, which is a versatile tool that helps in applying compounds and polishes efficiently. Pair this with foam pads of varying levels of importance to suit different correction needs. Microfiber towels are essential for wiping off residue and inspecting your work as you progress.
Next, make sure you have a good-quality paint thickness gauge. This tool allows you to measure the thickness of your paint accurately, guiding you on how much correction is safe for your vehicle’s clear coat. A reliable light source, such as an LED inspection lamp, is important for spotting imperfections and monitoring your progress during correction.
Don’t forget about a clay bar kit to remove surface contaminants before correction, ensuring a smooth surface to work on. Additionally, having quality masking tape to protect sensitive areas like rubber trims and plastics is important to prevent accidental damage.
Lastly, invest in a good set of detailing brushes and a compressed air system to clean hard-to-reach areas effectively. These tools will help you achieve a thorough paint correction process, leaving your vehicle looking flawless and rejuvenated.
Understanding Paint Correction Compounds
When it comes to achieving flawless paint correction results, understanding paint correction compounds is essential. Different types of compounds are tailored to specific needs, requiring varying application techniques for the best results.
Knowing the difference between polishing and cutting compounds will help you achieve that perfect finish on your vehicle’s paint.
Types of Compounds
Understanding the different types of compounds is essential for achieving successful auto paint correction.
When it comes to paint correction, there are primarily two types of compounds: abrasive compounds and non-abrasive compounds.
Abrasive compounds are designed to remove imperfections like minor damage, swirl marks, and oxidation by leveling the clear coat surface. They come in varying levels of abrasiveness to address different levels of imperfections.
On the other hand, non-abrasive compounds are used for light correction and enhancing the gloss of the paint without removing too much clear coat.
Application Techniques
To effectively apply paint correction compounds, mastering the right techniques is key to achieving flawless results that will leave your vehicle’s paint looking pristine. When applying these compounds, always work in small sections to ensure even coverage and thorough correction.
A dual-action polisher with the appropriate pad for the compound being used is used. Apply moderate pressure and work the compound into the paint slowly and deliberately. Keep the polisher moving at all times to prevent heat buildup and avoid overworking the area.
Polishing Vs. Cutting
For best results in auto paint correction, differentiating between polishing and cutting compounds is vital to achieve the desired level of paint correction. When choosing between the two, consider the following:
- Cutting Compound:
Ideal for removing deep scuffs and swirl marks.
Contains abrasive particles that level the paint surface. - Polishing Compound:
Designed to enhance gloss and remove light imperfections.
Contains finer abrasives to refine the paint finish.
Understanding the differences between these compounds is essential in achieving a flawless paint correction. By selecting the right compound for the job, you can ensure your vehicle’s paint shines with a professional finish, making you proud of your car’s appearance.
Steps for Preparing the Paint Surface
Begin by thoroughly washing the paint surface to remove any dirt, grime, and contaminants that may impact the paint correction process. Use a high-quality car wash soap and a soft wash mitt to cleanse the surface gently. Rinse completely to make certain all residue is removed before proceeding to the next step.
After washing, clay barring is essential to eliminate embedded contaminants like tar, tree sap, or industrial fallout that washing alone can’t remove. Simply knead the clay bar into a flat shape and glide it gently across the paint surface. You’ll feel the clay picking up the contaminants – a sign that it’s working effectively.
Next, inspect the paint for any imperfections like swirl marks, damage, or oxidation. Proper lighting and a keen eye are critical here. This step helps you determine the extent of correction needed and plan your approach accordingly.
Mask off sensitive areas like rubber trim, plastics, and decals to safeguard them from accidental damage during the correction process. This precaution ensures a clean and professional outcome without any unwanted mishaps.
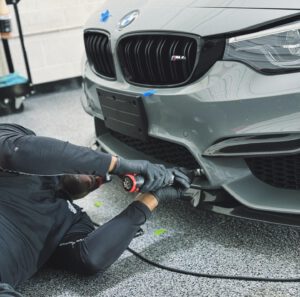
Techniques for Correcting Paint Defects
Explore the artistry of utilizing cutting-edge polishing compounds to skillfully eliminate imperfections and reveal a flawless paint finish. When correcting paint defects, you immerse yourself in a world where precision and expertise reign supreme. Here are four essential techniques to master this art:
- Spot Correction: Identify specific imperfections like road debris, swirl marks, or water spots and focus on rectifying them individually. This targeted approach guarantees a thorough elimination of each defect, enhancing the overall appearance of your vehicle’s paint.
- Progressive Polishing: Start with a less aggressive polishing compound and gradually work your way up to a finer one. This method allows you to rectify defects effectively while minimizing the risk of damaging the paint surface.
- Cross-Hatch Technique: When polishing, use a cross-hatch pattern to ensure even coverage and consistent correction. This technique prevents overworking specific areas and helps achieve a uniform finish across the entire surface.
- Lighting Considerations: Adequate lighting is vital for detecting paint defects. Natural sunlight or specialized LED lights can reveal imperfections that might be missed under normal lighting conditions. Position your light source strategically to uncover even the most subtle flaws.
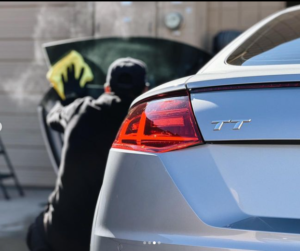
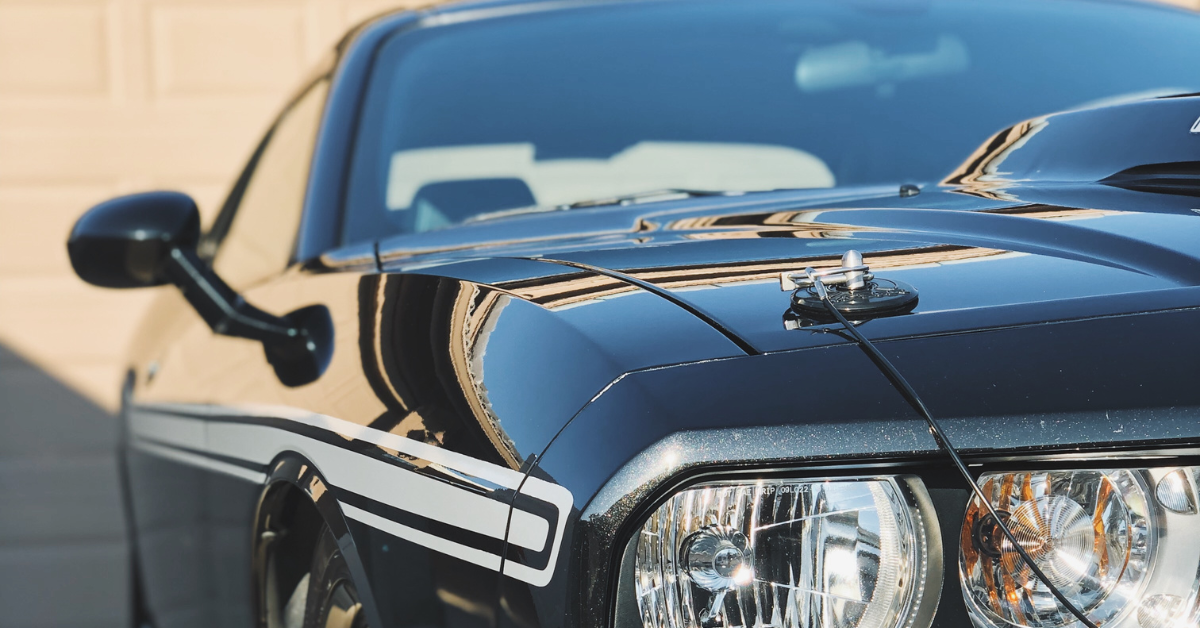
Polishing for a Flawless Finish
Discover the secrets to achieving a flawless finish through precise and methodical polishing techniques. When it comes to polishing your car’s paint, attention to detail is key. Begin by selecting the right polish for your specific needs. Different polishes cater to various paint types and levels of imperfections. Remember, the goal isn’t just to make your car shine but to eliminate any blemishes, swirl marks, or damages that may be present.
Before delving into the polishing process, make sure that your car’s surface is clean and free of any debris that could cause further damage during polishing. Work in small sections, applying the polish evenly with a polishing pad. Use a dual-action polisher to evenly distribute the polish and prevent swirl marks.
As you work your way around the vehicle, pay close attention to the pressure applied and the speed of the polisher. Too much pressure can lead to burn marks, while too little may not effectively correct imperfections. Keep a consistent speed and pressure to achieve a uniform finish.
After polishing, inspect the paint under different lighting conditions to ensure all imperfections have been addressed. If needed, repeat the polishing process until you achieve the desired results. Embrace the art of polishing, and with practice, you’ll master the techniques needed to achieve a flawless finish that will make your car stand out on the road.
Protection and Maintenance Tips
Ensure the longevity and pristine condition of your car’s newly polished paint by implementing effective protection and maintenance strategies.
- Regular Wash Routine: Keep your car clean by washing it regularly with a pH-balanced car wash soap. This helps remove dirt, grime, and contaminants that can damage the paint if left unattended. Remember to use a microfiber wash mitt and dry it with a soft, clean towel to prevent environmental damage.
- Apply a Quality Wax or Sealant: After polishing your car’s paint to perfection, protect it with a high-quality wax or sealant. These products act as a barrier against UV rays, environmental pollutants, and water spots. Apply every few months for optimal protection.
- Invest in Paint Protection Film (PPF): For added defense against rock chips, swirl marks, and other physical damage, consider applying a Paint Protection Film. This transparent layer acts as a sacrificial barrier, preserving your paint underneath.
- Garage Parking and Covering: Whenever possible, park your car in a garage or shaded area to shield it from the sun’s harmful UV rays. If parking outside, use a car cover to provide an additional layer of protection against the elements.
Professional Vs. DIY Paint Correction
When it comes to auto paint correction, the decision between going professional or opting for a DIY approach can be vital. Professionals bring years of expertise and specialized tools to the table, ensuring a meticulous job.
Comparing the results of professional work against a DIY project can highlight the difference in quality and finish.
Expertise in Paint Correction
For those contemplating auto paint correction, understanding the key differences between DIY and professional paint correction is crucial to achieving the desired results. When it comes to expertise in paint correction, here’s why leaning toward a professional might be the optimal choice:
- Precision: Professionals have refined their skills through experience.
- Specialized Tools: They utilize high-quality equipment for superior results.
- Knowledge: Professionals comprehend paint types and how to address specific issues.
- Time and Effort: DIY can be time-consuming and may not produce the same professional finish.
Opting for a professional ensures a flawless paint correction that transforms your vehicle into a true masterpiece.
Tools for DIY
Discover the essential tools required for achieving professional-level results in your DIY paint correction project. To start, you’ll need a dual-action polisher, which allows for important and efficient correction of paint imperfections.
Pair this with quality foam pads in varying levels of importance to suit different correction needs. Additionally, a paint thickness gauge is important for measuring paint depth accurately.
Quality microfiber towels are a must for wiping off compounds and polishes. Don’t forget about a light source to reveal imperfections that need correction.
Results Comparison
Compare the results achieved through professional paint correction services with those from your DIY efforts to understand the differences in quality and finish.
Here’s a breakdown to help you see the distinctions:
- Professional Paint Correction:
Utilizes high-end tools and products
Experienced technicians ensure precise application
Offers long-lasting and flawless results
Can address deep scuffs and swirl marks effectively - DIY Paint Correction:
Relies on consumer-grade tools and products
Requires patience and attention to detail
Results may vary based on skill level
More suitable for minor imperfections and maintenance tasks
Understanding these differences can help you decide the best approach for achieving the perfect finish on your vehicle.
Conclusion
So, now you know the ins and outs of auto paint correction with Sunblok – Coatings & Detailing. Remember, it’s not just about fixing imperfections; it’s about restoring the beauty of your vehicle. Grab your tools, harness your inner artist, and let those swirl marks and damages become a thing of the past. Show the world that your ride isn’t just a mode of transportation but a work of art on wheels. Go forth and paint the town!